Image3 min read
How to Convert PNG to JPG Without Losing Quality
PNG screenshots too big to email or upload? Here's how to turn them into JPGs in seconds, what happens to transparency, and which quality setting to pick.
By the ZapMorph team
On this page
Just want it done?
Open the PNG to JPG Converter — it runs in your browser and nothing is uploaded.
Screenshots are the usual suspect. A full-screen PNG from a modern laptop can easily be 3–5 MB, and that's before you've taken ten of them for a bug report. Converting them to JPG usually cuts the size by 70–90%.
Here's the quick way, plus the built-in options if you'd rather not use a website.
PNG vs JPG: when converting makes sense
PNG is lossless. It keeps every pixel exactly as it was, and it supports transparency. That's great for logos and UI graphics, but it makes photos and busy screenshots enormous.
JPG throws away detail your eye won't miss, which is why the files are so much smaller. Convert to JPG when:
- An upload form or email has a size limit (job portals, government sites, Gmail's 25 MB cap).
- You're sharing photos that happen to be saved as PNG.
- A website or app only accepts JPG.
- You want a folder of screenshots to take up less space.
Keep the PNG when you need a transparent background, or when the image is mostly flat colors and sharp text (a logo, a diagram). In those cases JPG can look a bit smudgy around edges and sometimes isn't even smaller.
How to convert PNG to JPG with ZapMorph
1. Open the converter
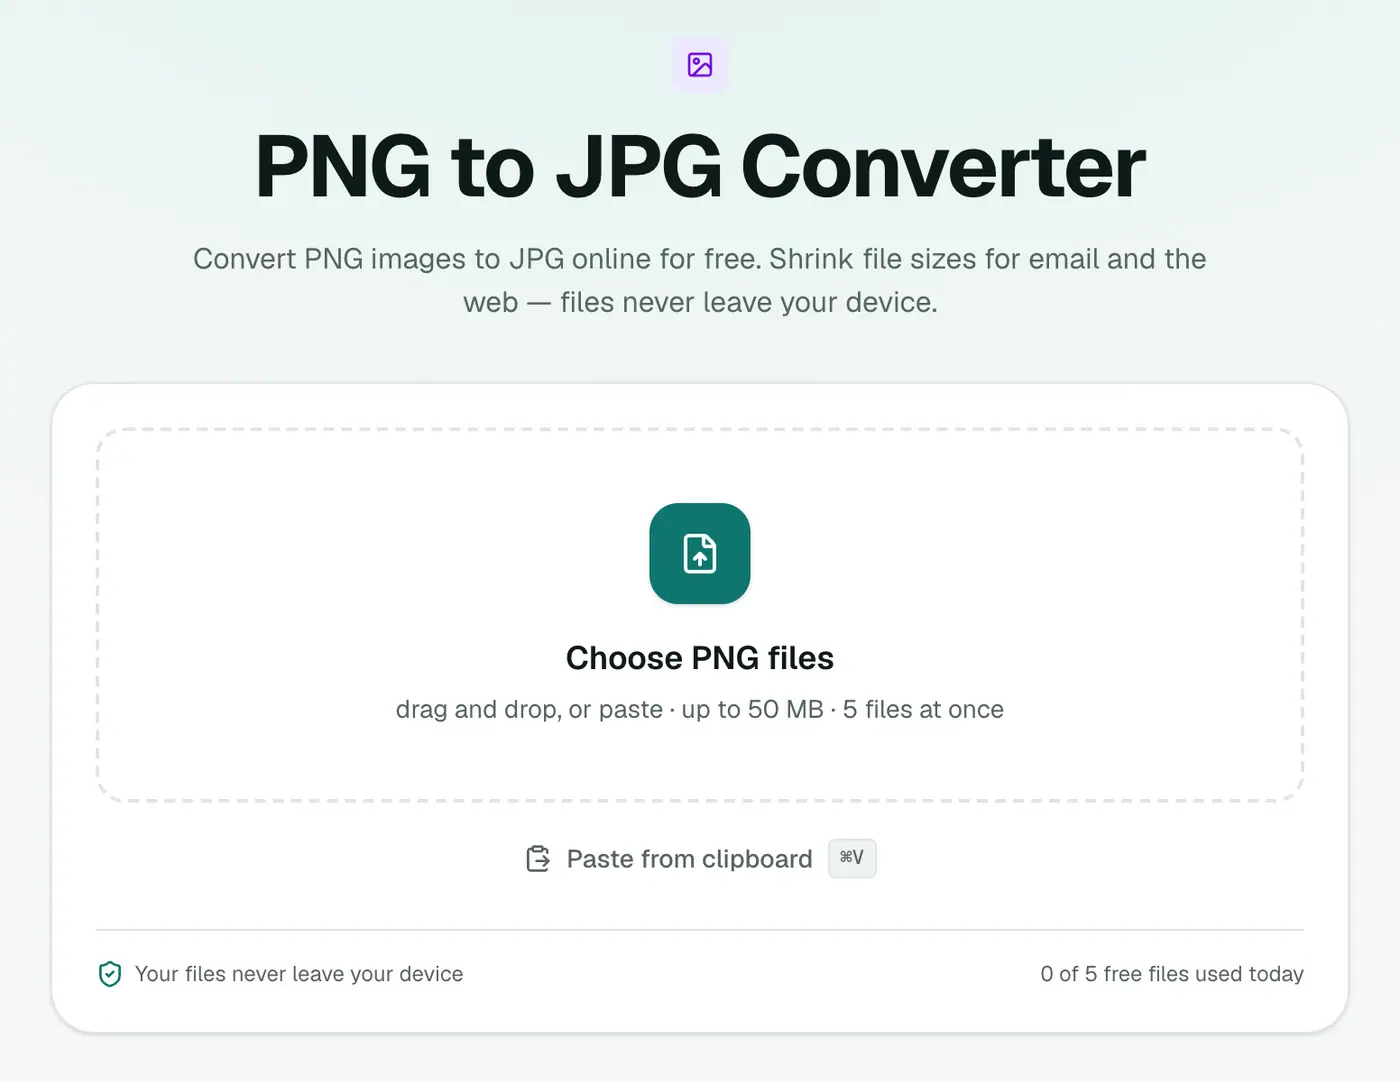
Head to the PNG to JPG converter. Your files are processed right there in the browser tab.
2. Add your PNG files
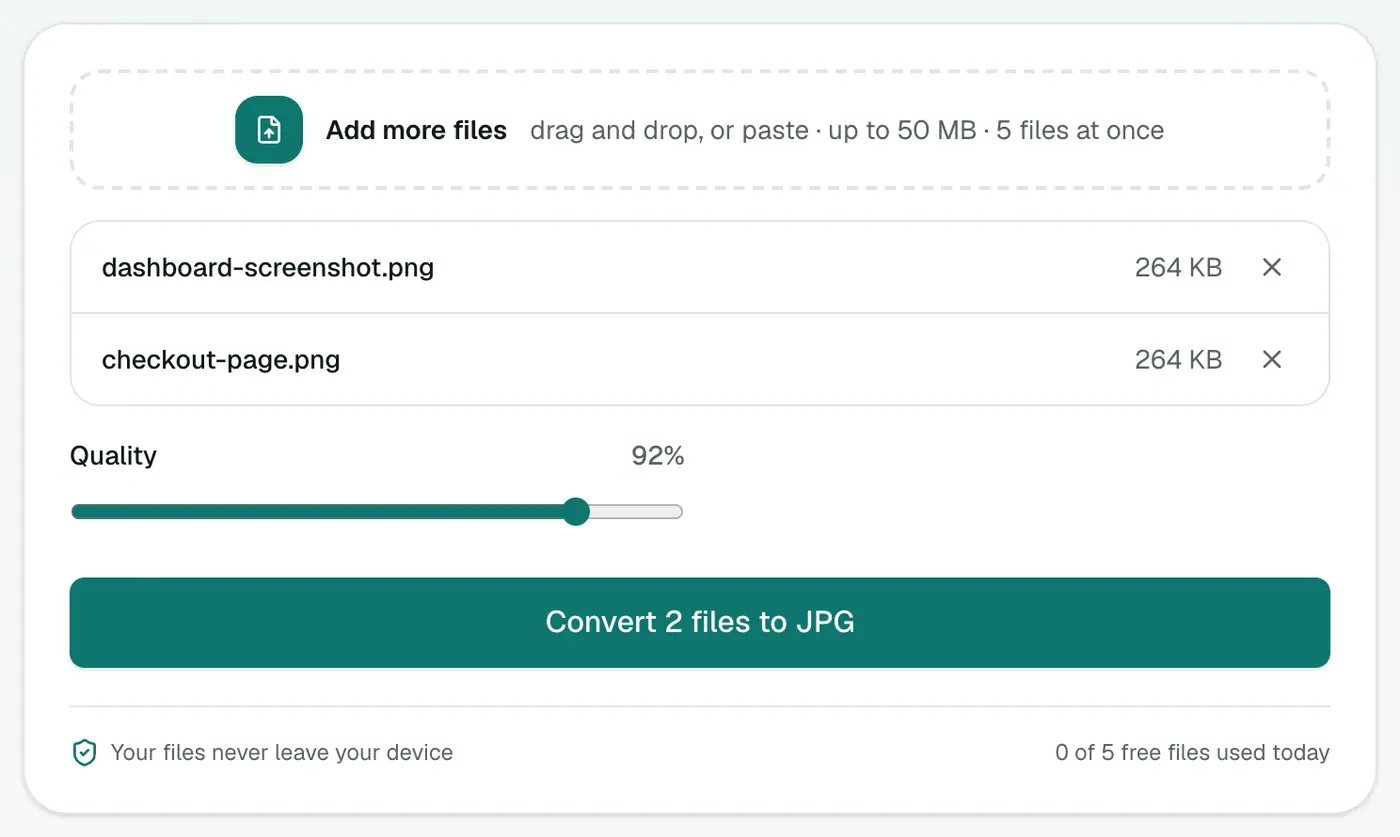
Click the box, drag files in, or just press Ctrl+V (Cmd+V on a Mac) if you've got a screenshot on your clipboard. That last one saves a surprising amount of time.
Check the Quality slider. 92% is the default and a sensible one. If you're trying to squeeze under an upload limit, try 80%.
3. Convert and save
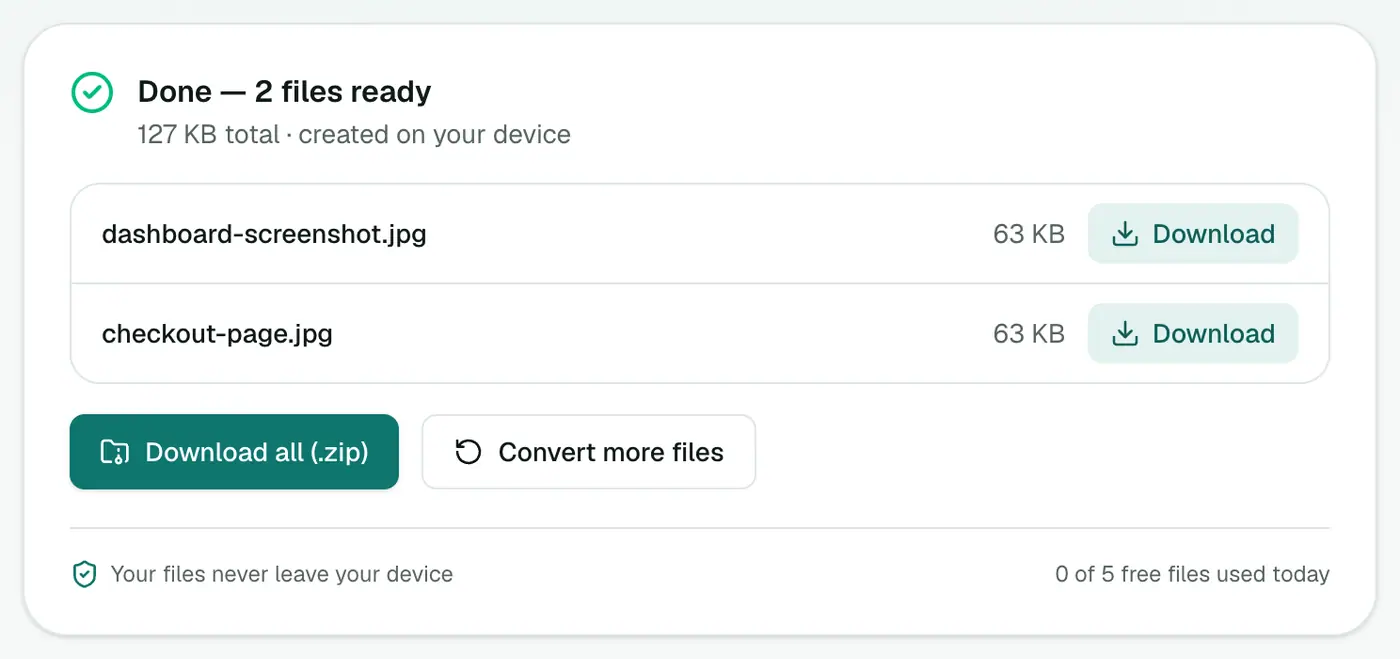
Click Convert to JPG. Each file takes a moment. Download them one at a time or all together as a ZIP.
Doing it without a website
Windows: Paint
Open the PNG in Paint, then File → Save as → JPEG picture. Simple, but one file at a time.
Mac: Preview
Open the PNG in Preview, choose File → Export, set Format to JPEG and drag the quality slider. To do a batch, select several images in Finder, right-click and pick Quick Actions → Convert Image.
The catch
Both work fine for a single image. They get tedious with twenty screenshots, and neither warns you about transparency. You find out what the background turned into after you've saved.
Tips that save a re-do
- Paste instead of saving first. Take a screenshot, open the converter, press Ctrl+V. No need to save the PNG anywhere.
- Transparent logo? It'll come out on a white background. If it's going on a dark website, keep it as PNG or use PNG to WebP.
- Still too big? Run the JPGs through the image compressor, which can also shrink the dimensions.
- Need a PDF instead? If the screenshots are going into a report, PNG to PDF puts them all in one file.
Quality setting guide
| Quality | Use for | Typical size (1920 × 1080) |
|---|---|---|
| 95–100% | Printing, archiving | 600 KB – 1.2 MB |
| 85–92% | Sharing, documents (default 92%) | 250–500 KB |
| 70–80% | Websites, email | 150–300 KB |
| 50–65% | Thumbnails, tight upload limits | 80–150 KB |
Screenshots: a special case
Screenshots full of text look best as PNG. If you must use JPG (for a size limit), keep quality at 90% or above so text edges stay readable.
The short version
For photos and screenshots you're sharing, JPG is almost always the better choice. Open the PNG to JPG converter, drop the files in, keep quality around 90%, and download. Hold onto the PNG originals if you might need to edit them later.
FAQs
What happens to the transparent parts of my PNG?
JPG can't store transparency, so transparent areas are filled with white. If you need to keep a see-through background, stay with PNG or use WebP instead.
Which quality setting should I use?
92% (the default) looks identical to the original for photos and most screenshots. Go down to 80–85% if you need small files for email or a web form. Text-heavy screenshots look best at 90% or above.
Why is my JPG bigger than the PNG?
It happens with simple graphics like logos, charts or screenshots with large flat areas of color. PNG compresses those very well. For that kind of image, keep the PNG or try WebP.
Can I convert several PNGs at once?
Yes. Add multiple files and download them individually or as one ZIP.
Do you keep a copy of my images?
No. The conversion happens in your browser. Your images are never sent to a server.
Can I convert PNG to JPG on my phone?
Yes. The converter works in mobile browsers. Choose images from your gallery and download the JPGs.
Try the PNG to JPG Converter
Free to start, no install, and your files never leave your device.